
This page may contain affiliate links. As an Amazon Affiliate, I earn on qualifying purchases. Please see our disclaimer for more information.
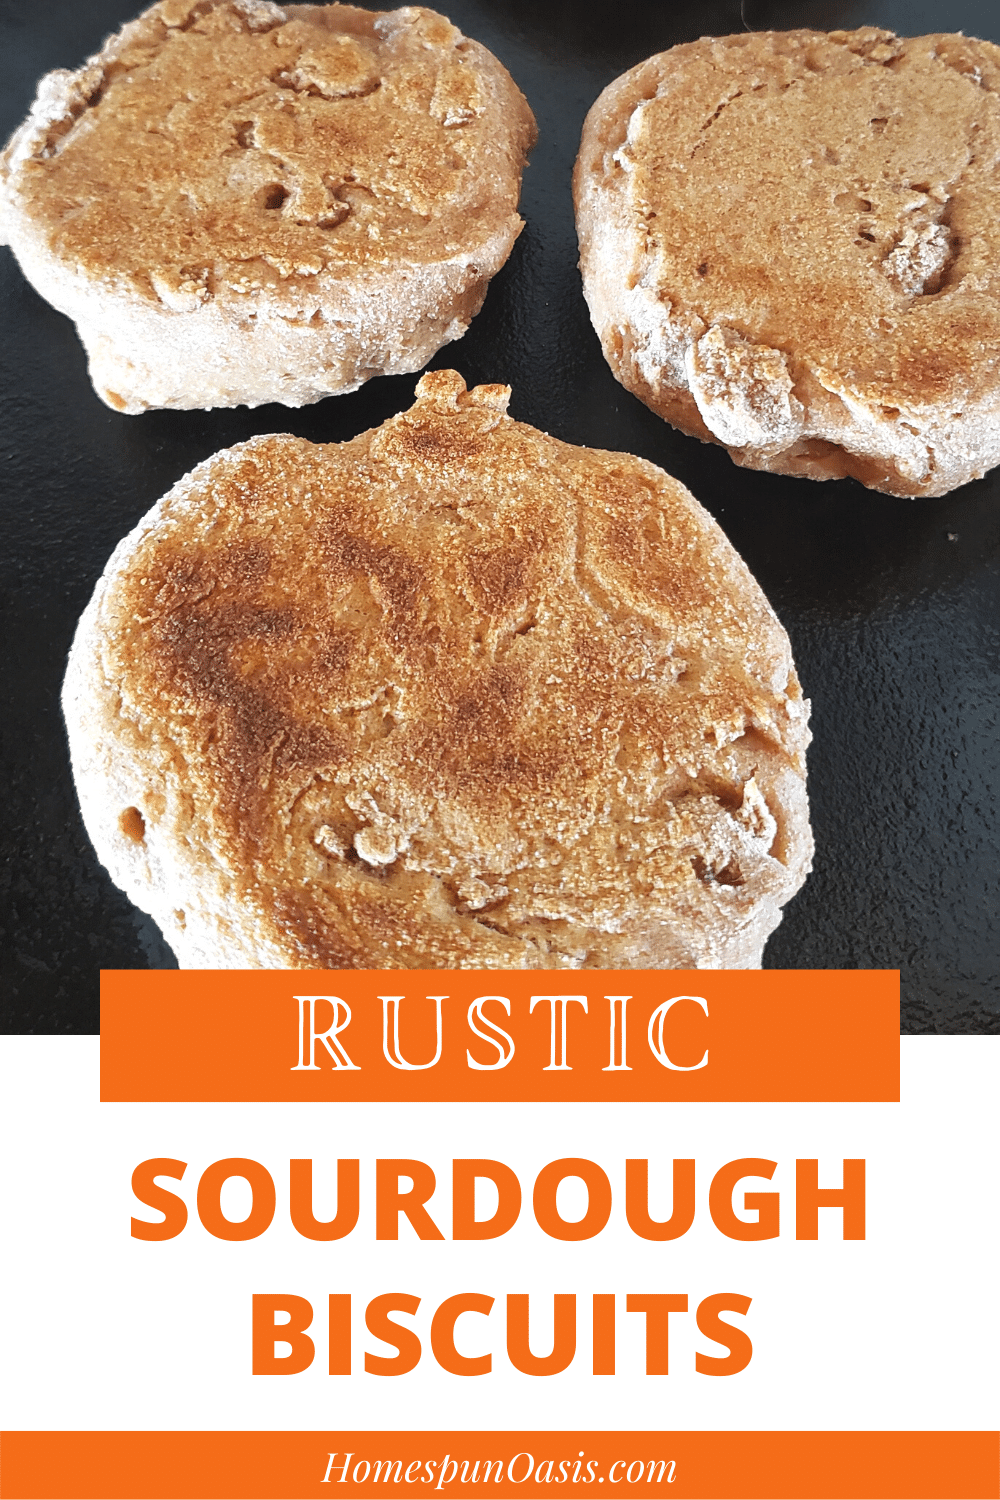
Easy, nutritious, and delicious is my motto in the kitchen. These sourdough biscuits completely fit the bill! They’re no-knead, which checks off easy. Gut-friendly and nutrient-rich sourdough, making them nutritious. Plus, they have an absolutely amazing flavor that is certainly delicious. Oh! And did I mention they’re versatile? Perfect for slathering with butter, jam, or peanut butter for breakfast, snacks, or as a side. Or make your sourdough biscuits large enough to use as individual sandwich bread or hamburger buns.
Although these sourdough biscuits are easy, you do need to plan ahead to allow the dough to properly soak and sour—at least 8 hours but up to 24 if that’s the way your day has gone. I often start the dough before bed so we can have fresh biscuits with breakfast.
Once they’ve properly soured, a couple of flips of the wrist and you’ll have perfect rustic sourdough biscuits. And the “baking” is done on the stovetop, which is fabulous for warmer months.
New to sourdough? Learn how to start your own traditional sourdough starter here.
These Rustic Sourdough Biscuits were adapted from two great recipes, both from Traditional Cooking School: The Best Sourdough English Muffins and No-Knead Sourdough Bread, a lesson in the Sourdough A to Z eCourse.

Rustic Sourdough Biscuits
Ingredients
- 2 cups water
- 1 tbsp sea salt
- 1 cup sourdough starter, fed within the last 12 hours
- 4-5 cups whole wheat flour, or a combination of whole wheat and white, plus additional for dusting
Instructions
- Combine the water, salt, and starter. Mix well.
- Then add the flour, 1 cup at a time, stirring after each addition. When you reach 4 cups, stop and evaluate the dough. You want a shaggy dough—a little thicker than cake batter, but it won’t be a smooth dough like when making bread. Add additional flour a few tablespoons at a time until it’s a nice, thick consistency.
- Now dust flour on top to cover the surface. This protects the dough and prevents a hard crust. Cover with a flour sack towel and place in a warmish spot.
- About 8 hours later, your dough is ready for making biscuits!
- Are you ready? If not, flip the dough and give it a quick knead to work in the flour. Sprinkle with another dusting of flour, cover with a lid (it doesn’t need to be tight fitting, even your flour sack towel with a plate on top will work) and move to the fridge. The cold will slow down the souring. You can make your biscuits up to 48 hours later.
- When you are ready to cook, heat a thick-bottomed skillet or griddle over medium heat.
- While the skillet is heating, move the dough around to incorporate the flour on top. You’re not really kneading it, just blending.
- Once the flour is mixed in, pull off a chunk of dough. You will form your biscuit into a disc that looks like an English muffin and is about the same size. You can form this on a floured surface or free form using your hand. Once formed, set aside on a plate or scoot to the edge of your floured surface.
- When you’ve used all the dough to make your biscuits, check your skillet. You want it medium to medium-high heat. With your hand about 5 inches above the skillet, you should be able to comfortably hold it there for 3 or 4 seconds.
- Add a little healthy fat (butter, coconut oil, tallow, or lard) to grease the skillet. Gently place the biscuits in the skillet, leaving space between for flipping.
- Set your timer for 5 minutes. When the time is up, flip the biscuits and set for another 5 minutes. Flip once again, setting your timer for 3 minutes. Remove from the heat. Repeat with any remaining biscuits.
- Once all the biscuits are cooked, carefully slice in half. Return the sliced biscuits, cut side down, to the skillet to toast. This takes 3 to 5 minutes.
- Enjoy slathered in butter and topped with honey or jam. Rustic Biscuits also make fabulous sandwich bread or hamburger buns. Store leftovers in a container on the counter or in the refrigerator.
Want More Sourdough Recipes?

Sourdough For Your Food Storage: Add Nutrition and Variety to Your Baked Goods
A healthy and delicious way to add variety to your baked goods!
Want to make tasty treats your whole family will love? Are you looking for a great way to expand your food storage grains?
Sourdough For Your Food Storage will show you how! Not only will you learn how to make delicious, crusty breads, but also biscuits, main dishes, and even desserts! Sourdough is a healthier alternative to yeast, and it tastes great to boot.
Inside Sourdough For Your Food Storage, you’ll discover:
- How to cook delicious, healthy, and nutritious baked good
- How to nurture your sourdough starter so it lasts a lifetime
- How to make sourdough part of your food storage
- And much, much more!
Grab your copy of Sourdough For Your Food Storage here, and start your sourdough journey today!